Understanding how Sympl’s trigger features work will make it easier to create message automation for each step of a guest booking. In this article, we will explain each trigger to ensure you maximize the Automations section.
On the 'Automations' section, there is a workflow that can be followed in creating appropriate triggers for each stage of a guest booking and this is captured as the guest journey.
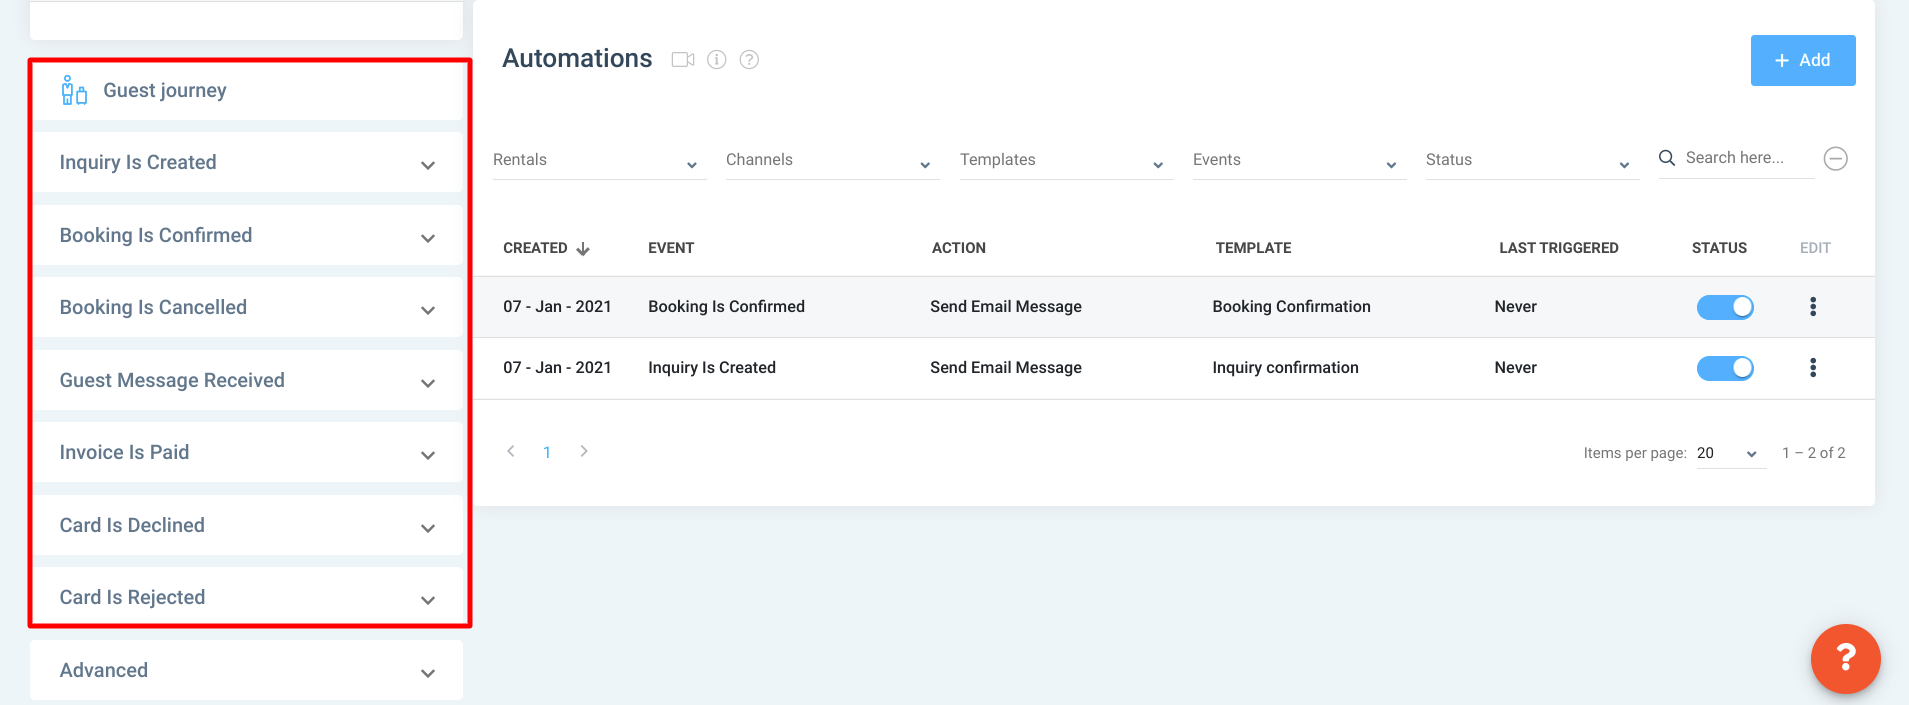
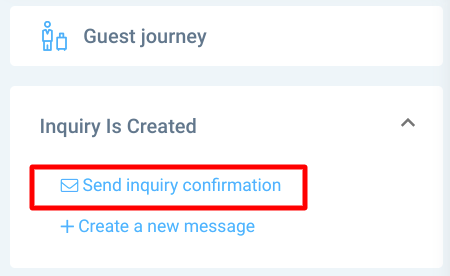
Here you can select the event type e.g "Inquiry Is Created", and the options provided, include sending an inquiry confirmation which would automatically generate the appropriate template from our built-in templates. However, selecting create new message would allow for the manual creation of your template.
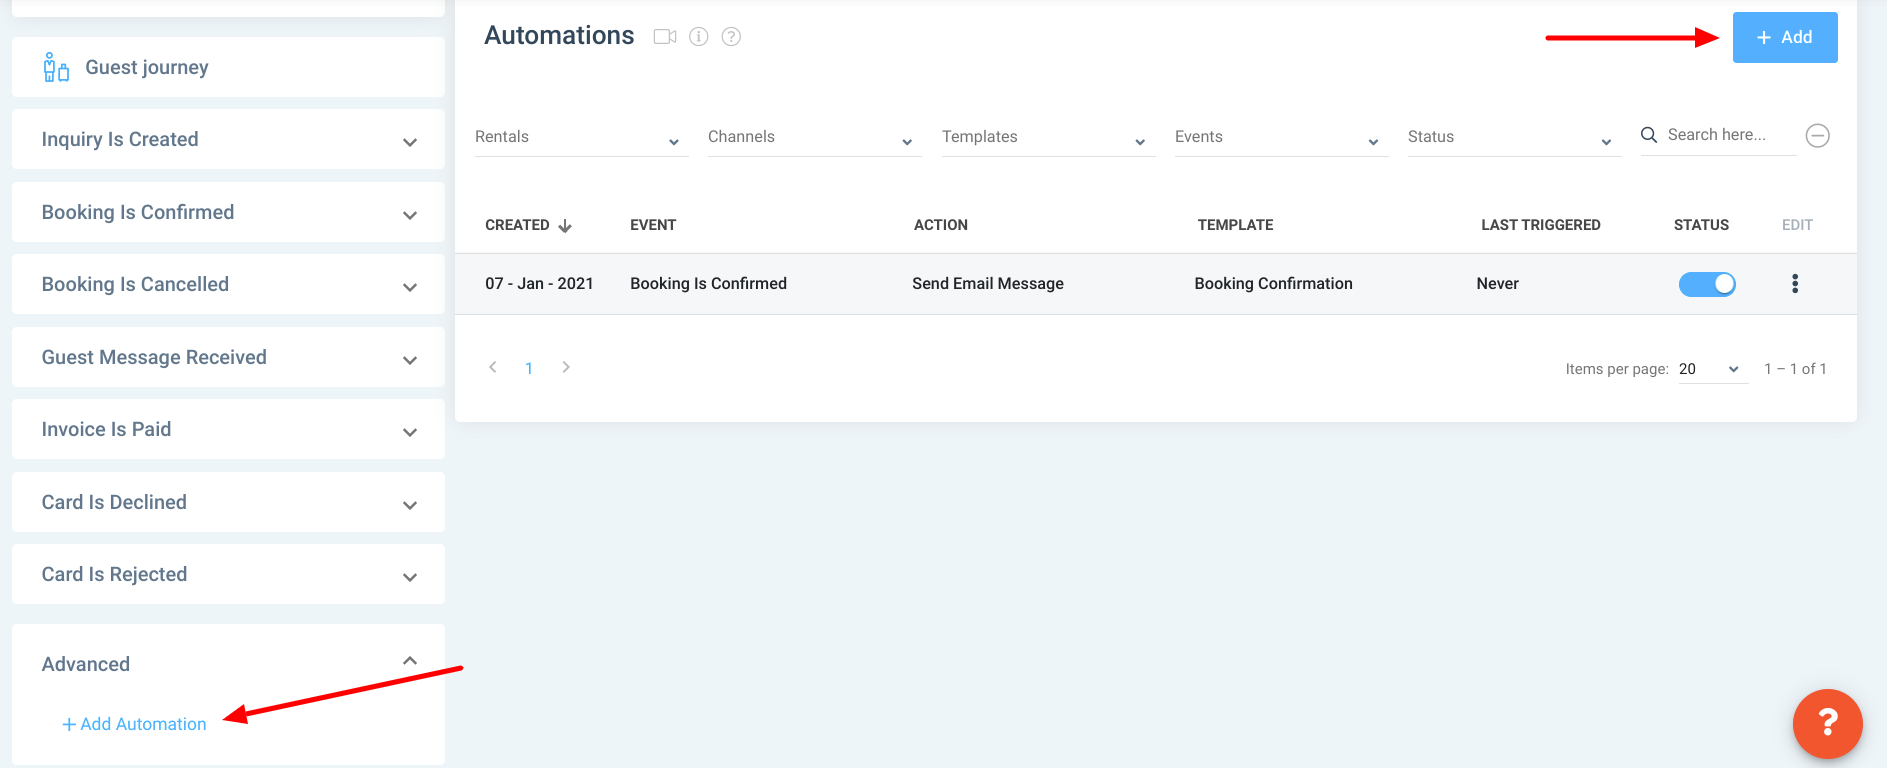
With the advanced option, you can manually add new automation for an event not captured within the guest journey workflow. You can also do this via the Add button above the section your triggers are displayed.
When you click on the option to add a trigger, you will find the trigger details and trigger conditions. Adjusting the features in these sections will give you control over a wide range of automated responses. Here is what the trigger details look like, along with an explanation of each feature.
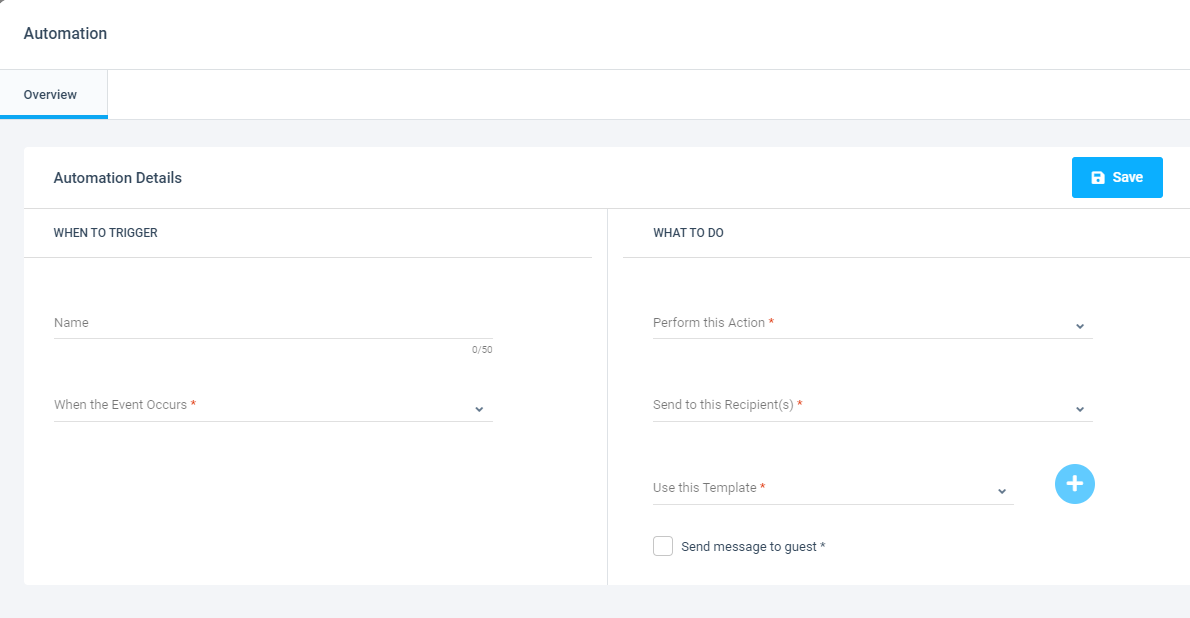
When this Event Occurs:
Select an event that will trigger your template being sent.
Guest Created: Guest is created either via the dashboard, from an Automata website or widget, or from a channel connection.
Guest Updated: Guest is updated via the dashboard or a channel connection.
Guest Deleted: Guest is deleted from the dashboard.
Guest Message Received: Message is received from a guest
Inquiry Created: Inquiry is created via the dashboard, an Automata website or widget, or an API channel connection.
Booking Confirmed: Booking confirmed via the dashboard or connected API channel
Booking Cancelled: Booking cancelled via the dashboard or connected API channel
Invoice Created: Invoice is created via the dashboard or trigger.
Invoice Paid: Invoice is successfully paid.
Invoice Cancelled: Invoice is cancelled via the dashboard.
Contract Sent: Contract is sent to the guest.
Contract Viewed: Contract has been opened or viewed after being sent.
Contract Signed: Contract is successfully signed and submitted.
Contract Rejected: Contract is rejected.
Card Declined: guest credit card declined
Card Accepted: guest credit card was accepted
Card Deleted: guest credit card was deleted
Card Rejected: guest credit card was rejected
Channel Disabled: Inform your internal team that a channel connection is disabled, and that action needs to be taken by your team in Tokeet.
From this Channel(s) (Optional):
If selected, the trigger will fire only for event on this channel(s). If you do not select a channel, the trigger will fire for all channels. We recommend leaving this option deselected unless you need to exclude certain channels from the trigger.
From this Rental(s) (Optional):
If selected, the trigger will fire only for event on this rental(s). If you do not select a rental, the trigger will fire for all rentals. We recommend leaving this option deselected unless you need to exclude certain rentals from the trigger.
Perform this Action:
Select the action that will be performed when the trigger fires. The action selected determines the kind of template that can be used.
Send Email Message: This will send a message to the guest or the internal user’s email address. If the address is a guest email address from the channel, then the message will be sent using the channel messaging system.
Send HTTP Post: This will send text codes to a receiving server. The server that receives the HTTP post can then operate on the data according to your setup.
Send Push Notification: This will send a push notification message to the recipient via the Tokeet mobile app. This option will not work with guests, owners or accountant users, as they do not have access to the mobile app.
Send to this Recipient(s) (Optional):
If selected, the trigger will send a copy of the template to the recipient(s) selected. These will be users you have created in your account. Select the internal users you want to receive the message template.
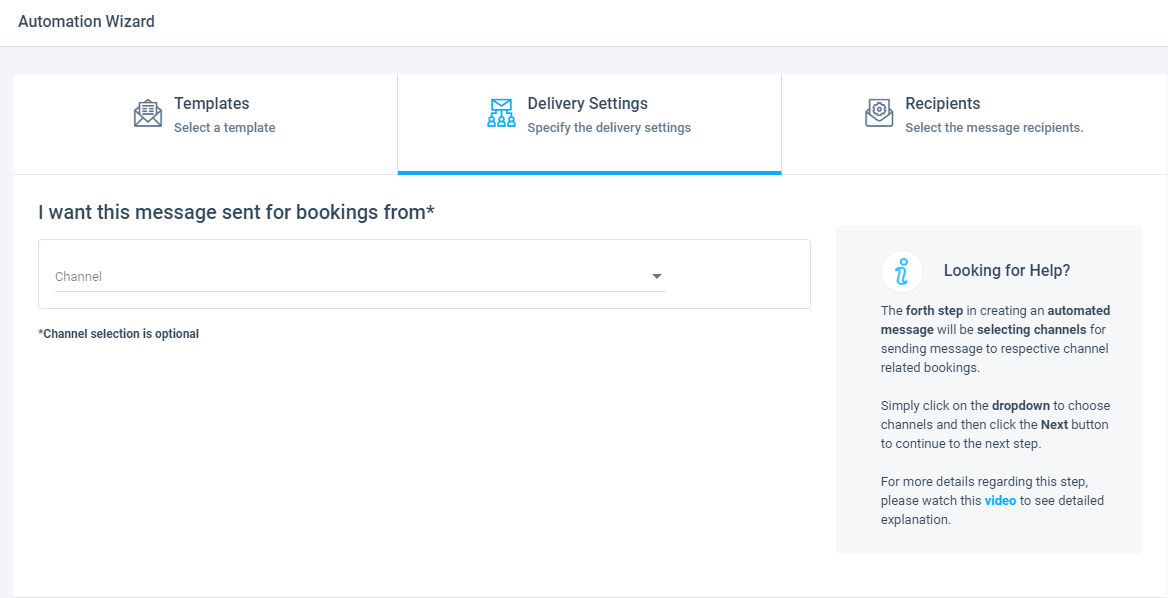
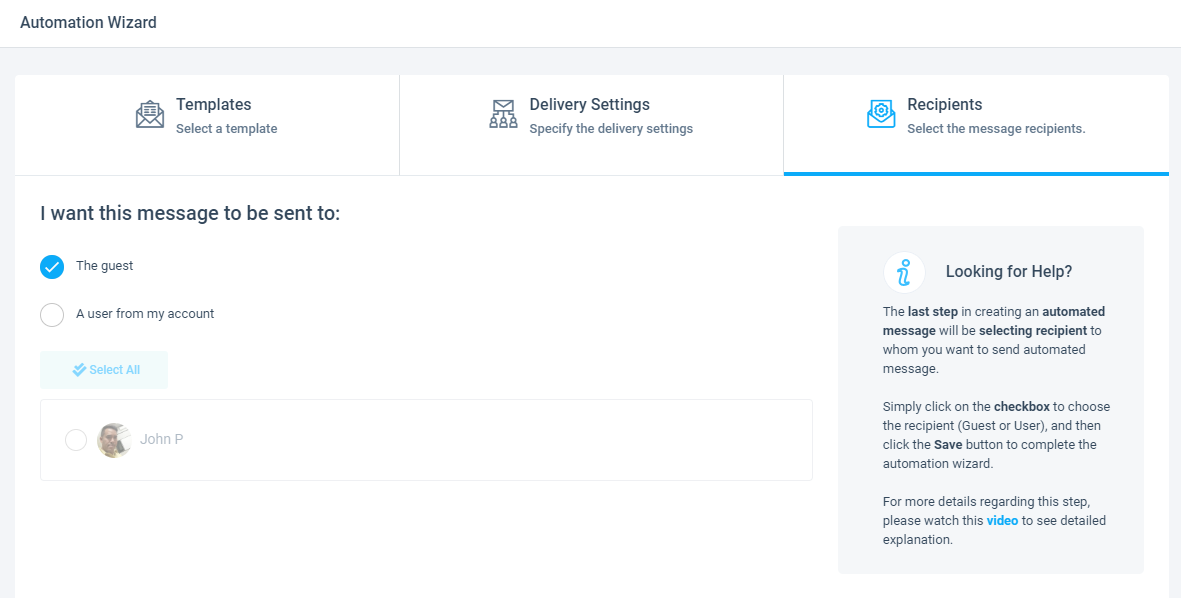
There's also the automation Wizards which takes you through each the three steps of setting up triggers. Here's what it looks like:
Step 1: Select your rental(s)
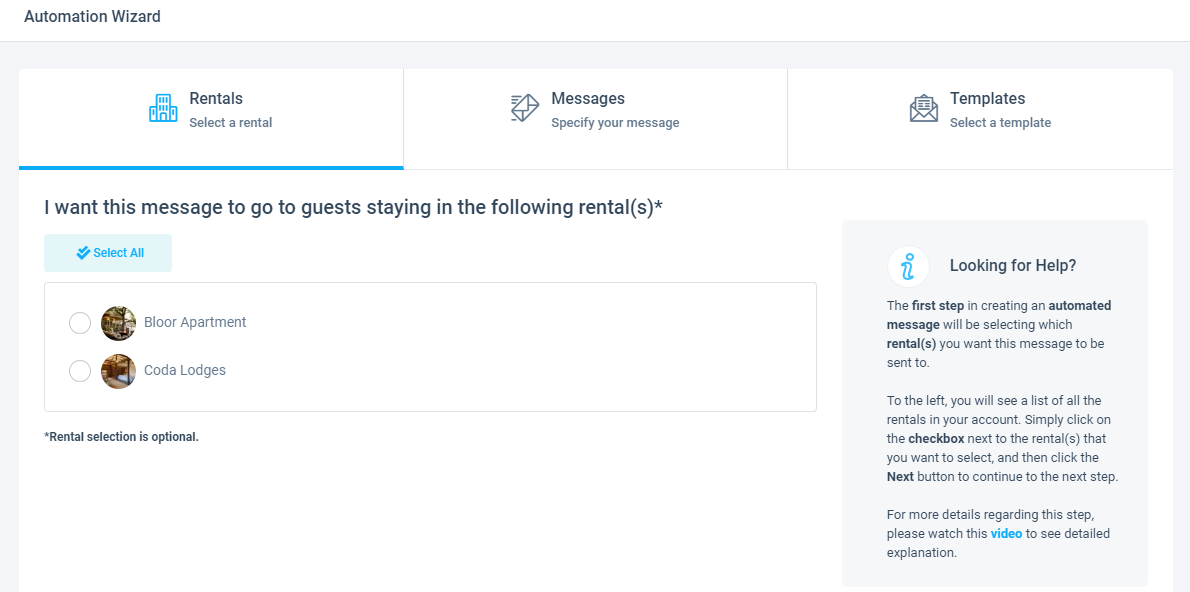
Step 2: Specify your message
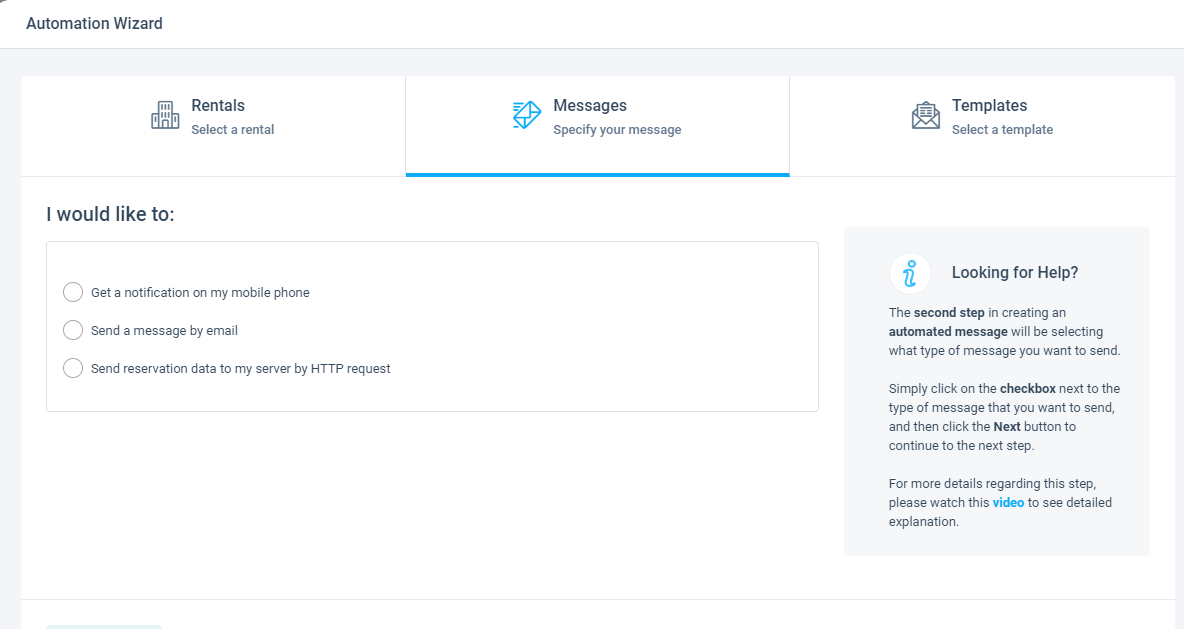
Step 3: Choose a template
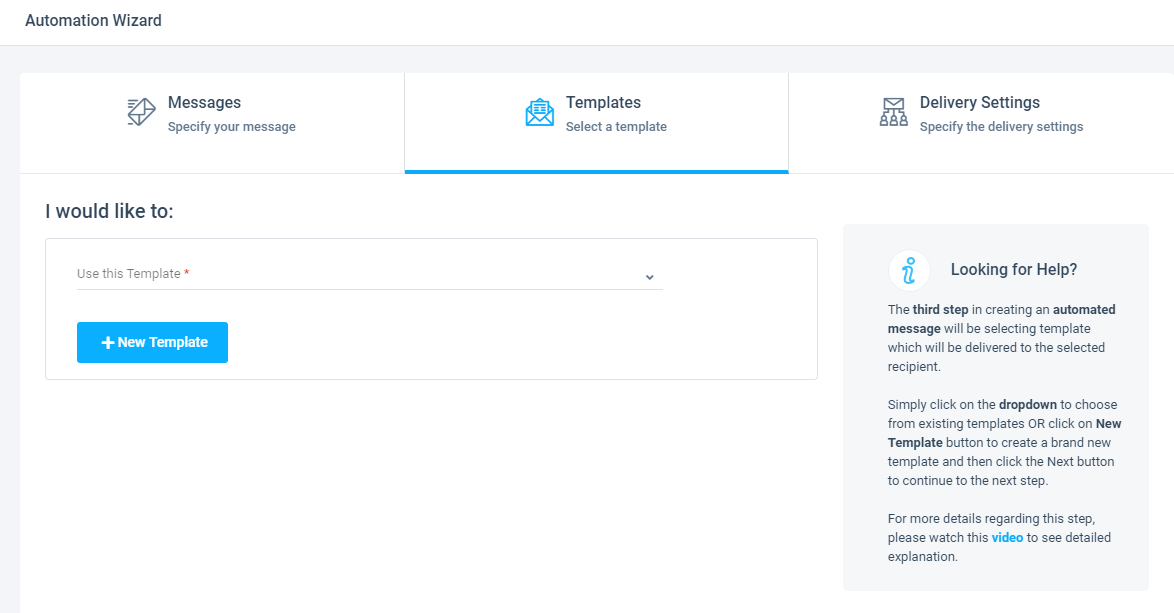
Step 4: Specify the delivery settings (this is optional)
Step 5: Select the recipients who should receive the message
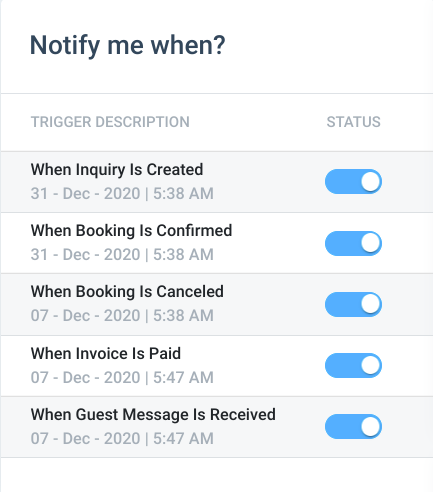
In the Automations section, you can also turn on quick notifications that you will receive as the account administrator. There are the trigger descriptions and the statuses, which you can toggle on (active) or off (inactive) for the latter.
