Adding a Hold Event to your listings ensures your property cannot be booked for a specified time. This is a necessity for preventing double bookings when working with any booking channels that aren't synchronized with your Sympl calendar, as well as keeping your property clear for scheduled maintenance and personal usage.
How to Add a Hold Event in Sympl
There are two ways to add a hold event to your listings:
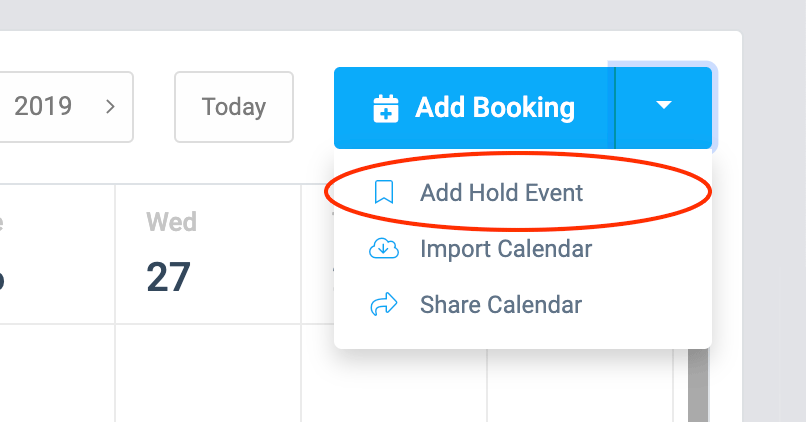
Via the Calendar pages:
Navigate to either your Booking Calendar or Yearly Calendar pages
Locate the "Add Booking" button in the top right of the screen

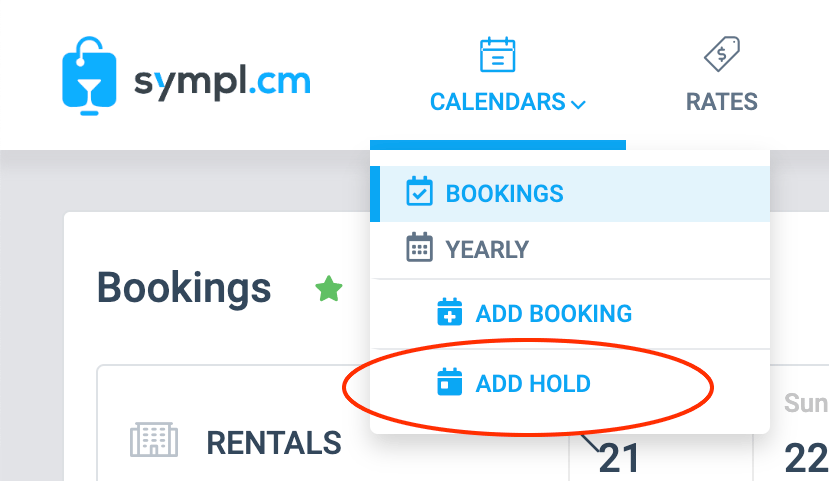
Via the Calendar dropdown menu:
Locate the Calendars dropdown menu on the top of your Sympl dashboard
Select "Add Hold"

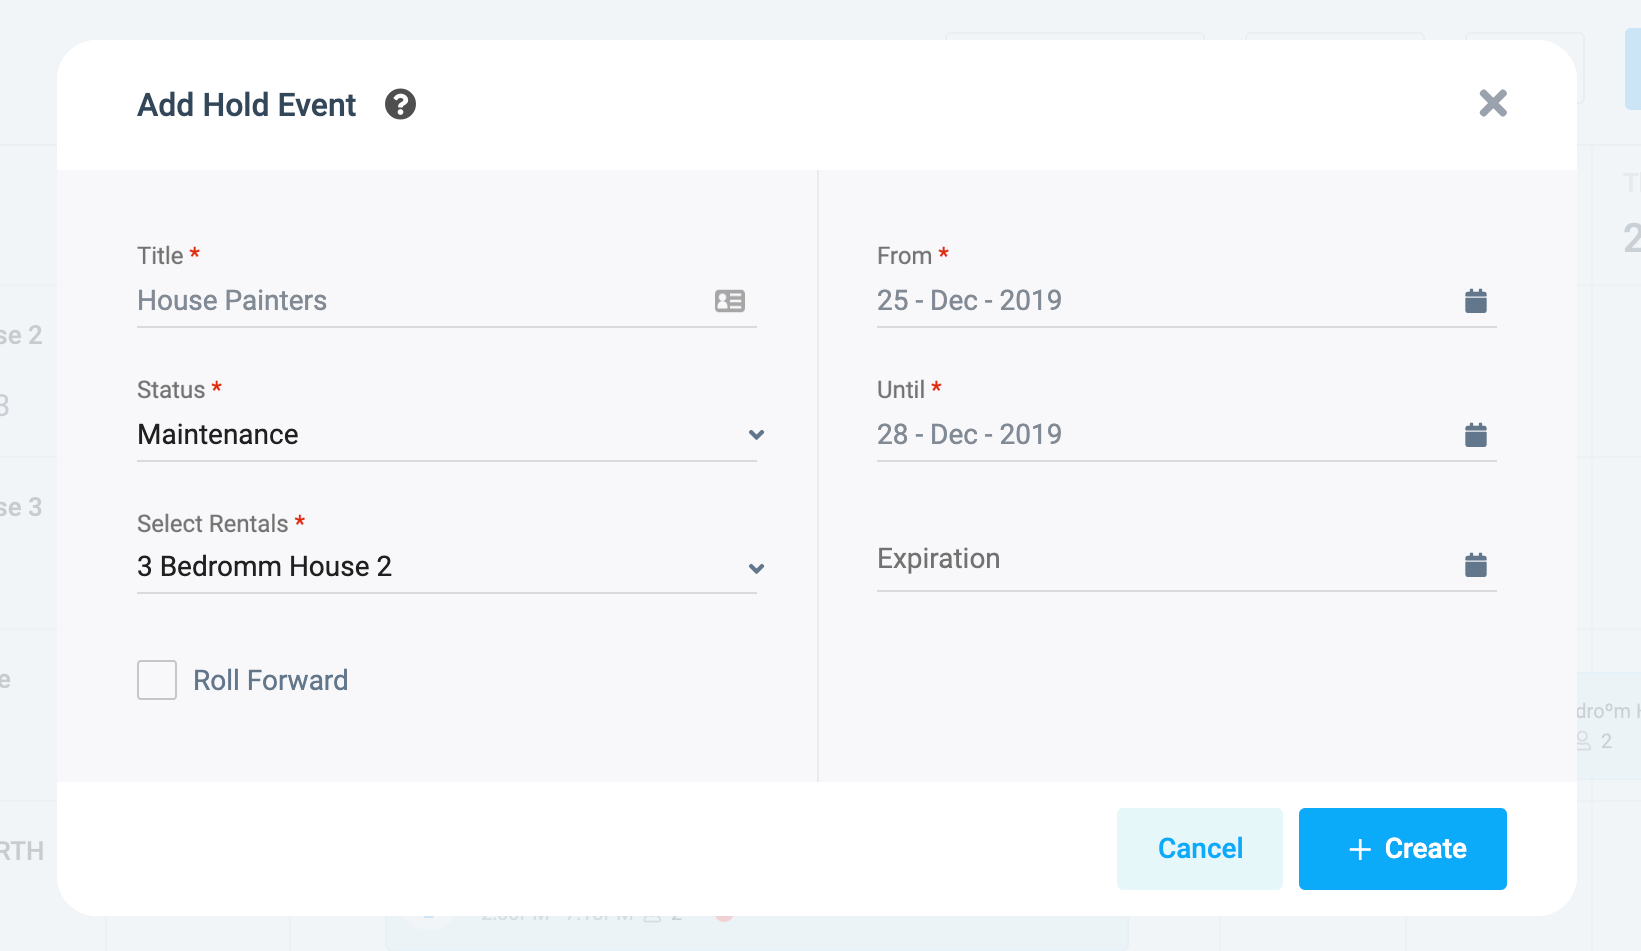
Once opened, the Hold Event configuration screen will present some fields for scheduling your hold period. Only some of these are required fields (denoted with an asterisk):

Title - This is identifying information that will be seen in your calendar views.
Status - This is identifying information that will be seen in your calendar views, and is also used for filtering. There are multiple status types to help you stay organized and keep your team informed: Personal, Maintenance, Pending, Confirmed, and Other.
From / Until - Beginning and end dates to hold. You cannot choose dates which are already booked.
Select Rentals - You may choose multiple rental listings to block the same dates for. If you need different dates for multiple rentals, you will have to create hold events individually.
Expiration - Used in conjunction with the Roll Forward option. This is an optional date that will end and remove the hold event from your calendar. The Until date performs this task under normal circumstances, but if the Roll Forward option is being used, the clearing operation is designated to the Expiration parameter.
Roll Forward - The Roll Forward checkbox will continuously advance your hold period by 24 hours, every 24 hours. Use the Expiration date parameter if you would like to roll forward for a finite length of time.Finish setting your hold event by clicking the "Create" button.

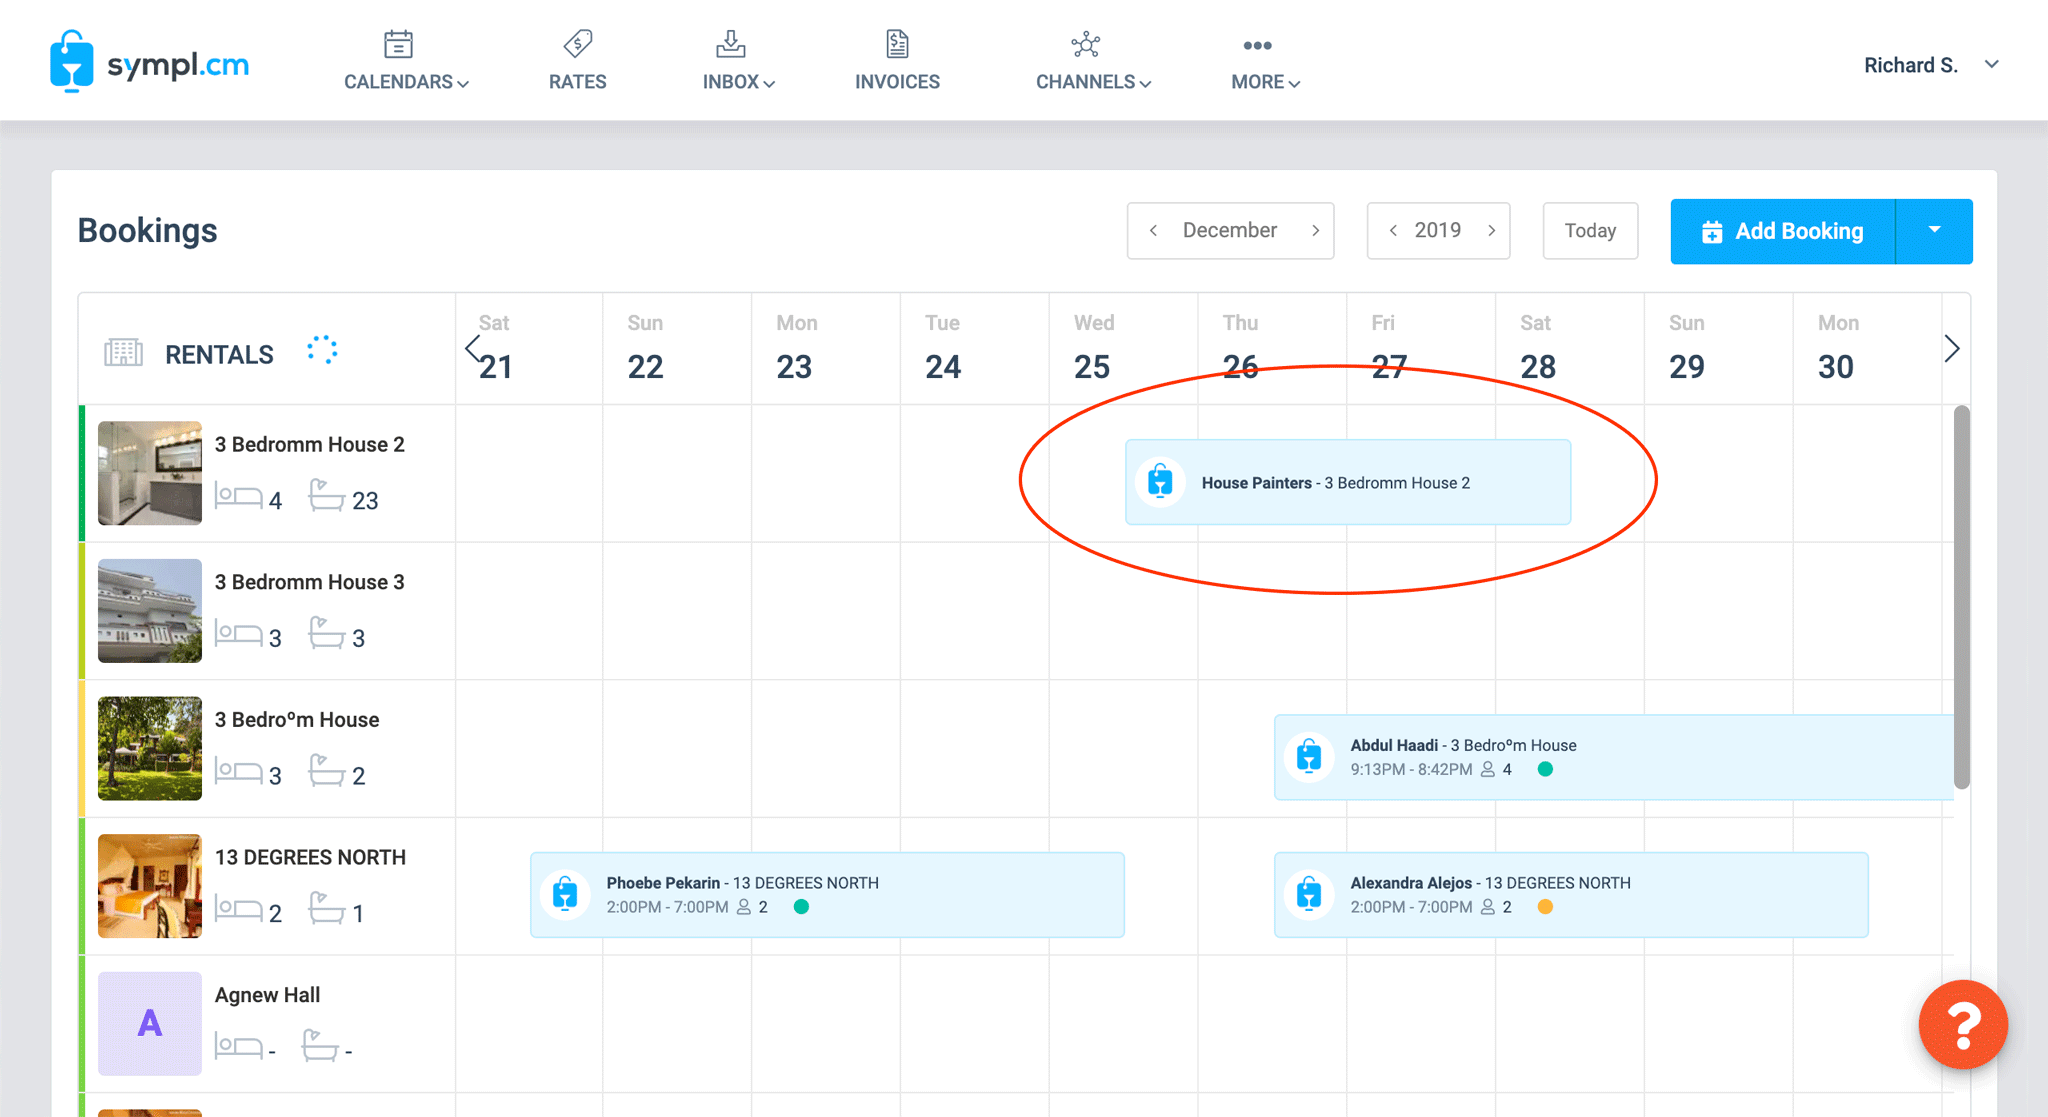
You have now successfully created a hold event!