Your CRM database is extremely valuable as far as marketing material and improved customer relations go. It can get you more bookings, repeat guests, improved reviews, and more. CRM, for the uninitiated, stands for Customer Relationship Management - so a CRM database is really just another way of saying "contact list".
Sympl will automatically store your guests' non-invasive data when bookings and inquiries are made through API connected channels. For direct bookings (made without a booking engine) and iCal connected channels, you may need to manually enter guest information into your database for future marketing or personalized communications. You may also want to add some details to an existing guest's contact data.
Luckily, Sympl comes equipped with an easily editable contact database that includes numerous data points and historical booking/communication data. Read on to find out how to add and update your guests' stored info.
Edit Guest Data
Select "GUESTS" from the Navigation Bar.

On the left-hand side of the Guest screen, you will see a list of guests (past and present) - you can search for a guest using the search bar, or narrow the list using the filters icon.
Once you've located the guest you wish to edit, simply click their name to open the Guest Details window. This window contains a number of tabs and data points, including basic info, address/contact info, interaction history (messaging, inquiries), booking history, documents and files, and more.
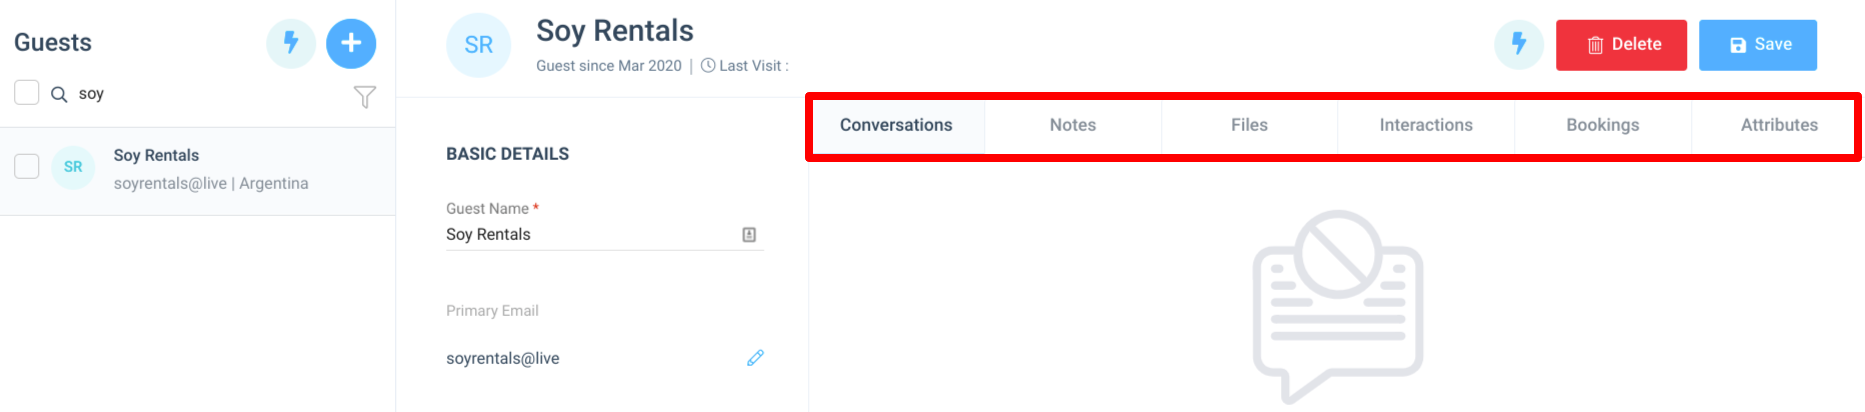
You will also find a Notes tab, as well as an Attributes tab. The notes tab can be used to communicate information to staff (visible only in Sympl), for future interaction, or information pertinent to this guest's stay. For example, if the guest is a diabetic and requests an ice pack to keep their insulin cool - you can leave a note about this so your housekeeping staff will see it and make sure to provide one before their stay.
The Attributes tab is a tagging system that will help you, group guests - for instance, if you would like to make an attribute tag for guests who have left bad reviews, you will be able to offer a discount to all of them at a later date in hopes of doing some damage control. It'll also be useful for seeing when these guests re-book so you can make an extra effort to please them.When you're finished editing your guest's details, click Save to close out the window. That's all there is to it!

Add a New Guest
Select "GUESTS" from the Navigation Bar.
On the left-hand side of the Guest screen, you will see a list of guests. Above that, you will see a circular blue "+" symbol button - click this to open the Add Guest window.

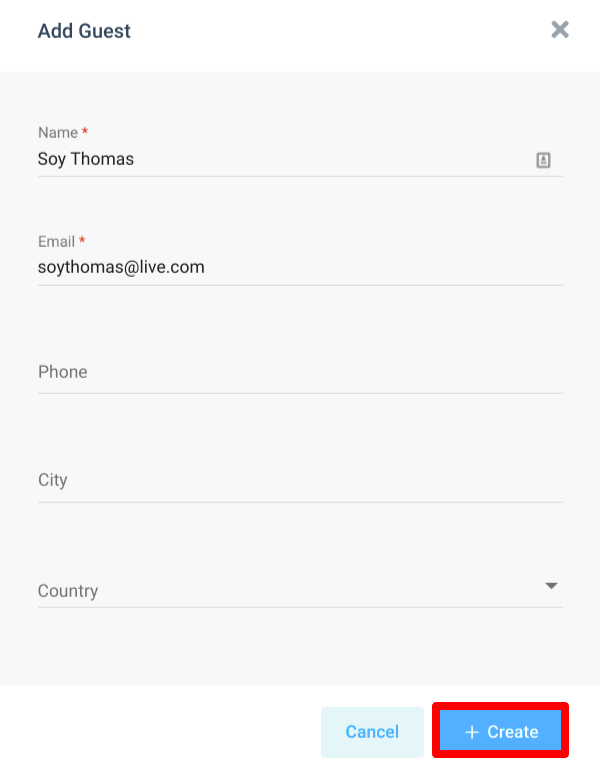
To add a new guest, only the most basic information is needed to log them into the database - Name, Email, Phone Number, City, and Country. Only the Name and Email fields are required at this point if you're unsure of the rest.
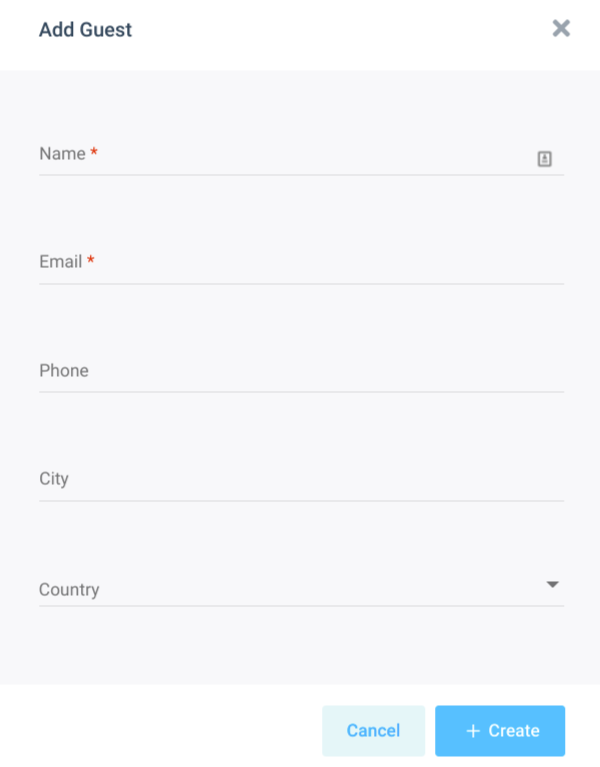
Press the "+ Create" button to add the new guest into your CRM database. You will immediately be transported to the Guest Details window (see step 4 in the "Edit Guest Data" instructions above).
You are free to edit or add more data at any time in the future.