If you want to setup a rule for your invoice automation then you have to go into Invoices Rules list view. There are two ways to access Invoices Rules:
1- You can access it from Invoices Dashboard

2- Another way to access it from Invoices in top menu

Invoices Rules List View
Rules list view will list down all the rules created and will also give option to enable or disable it using toggle.
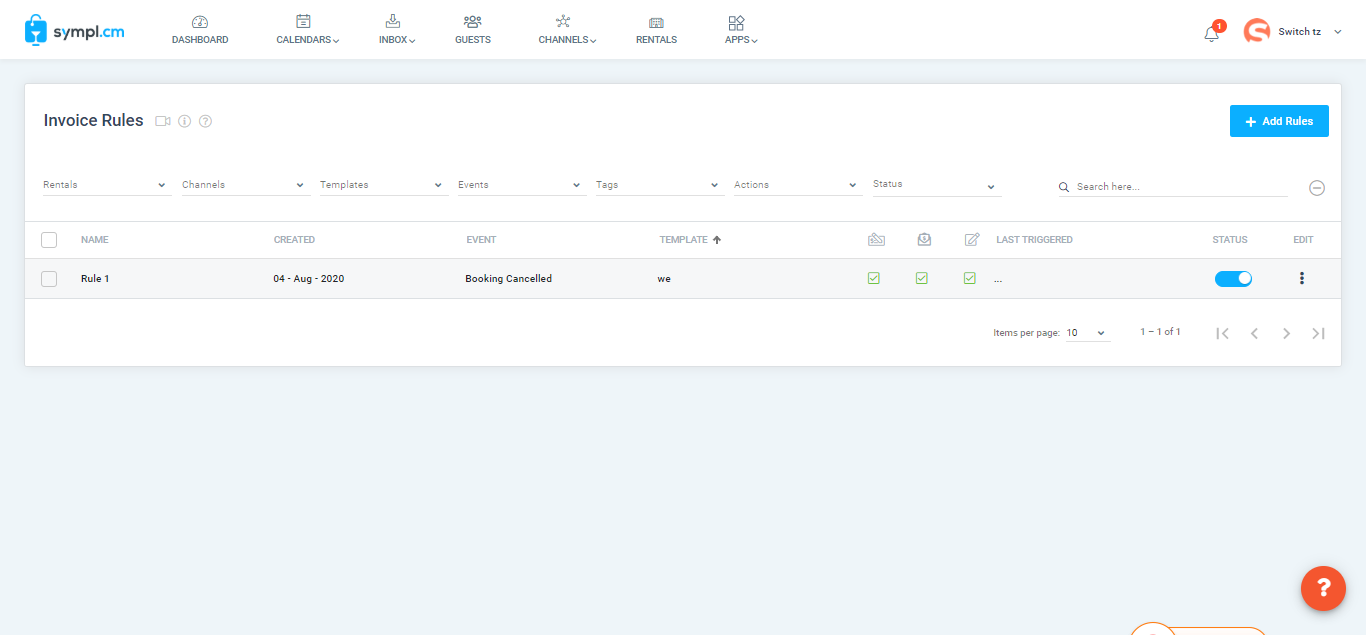
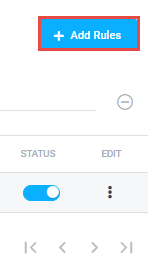
You can create a new rule by clicking Add Rule button
Add New Rule overlay will give user a bundle of options to create rule. You can set rule for the following events
Booking Canceled
Booking Confirmed
Inquiry Created
Time-based Event
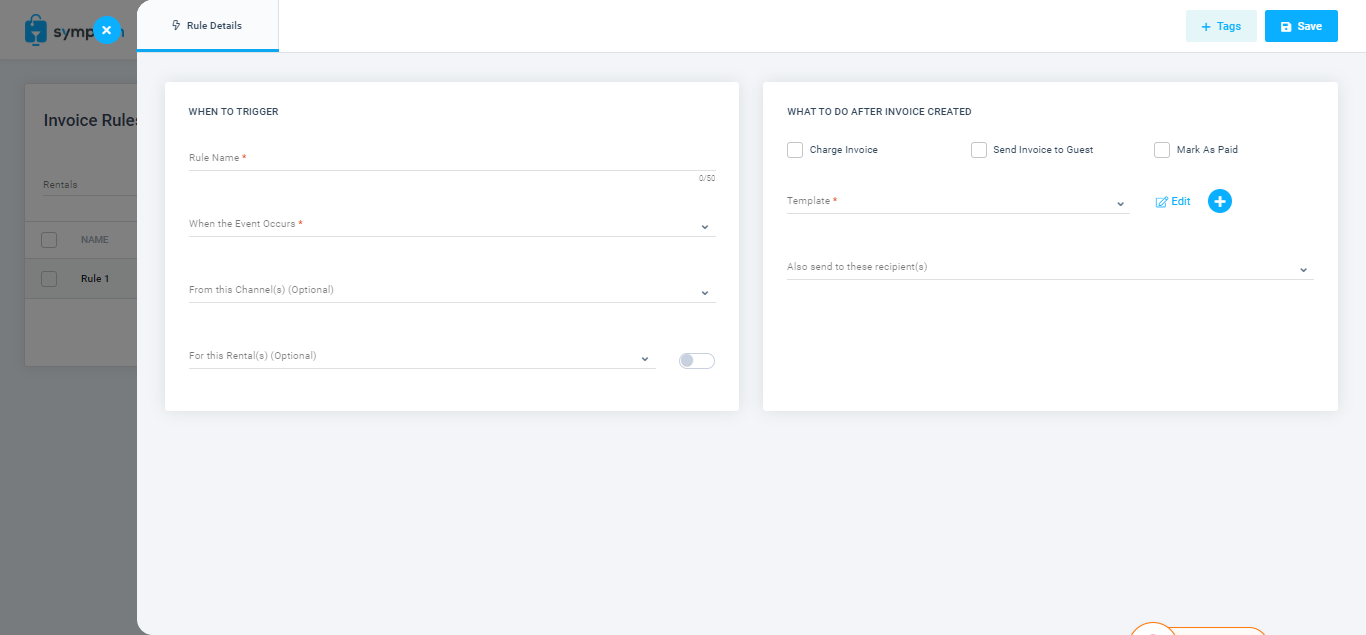
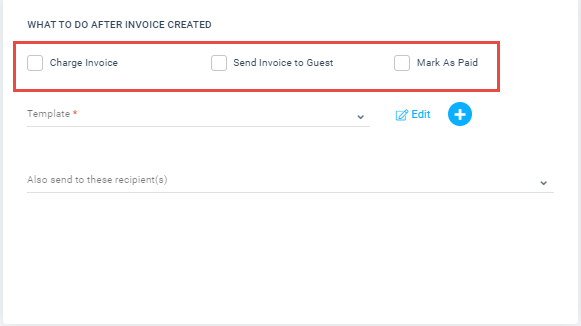
Once a rule will be triggered, invoice will be created and user will have option to perform further following actions against the invoice.
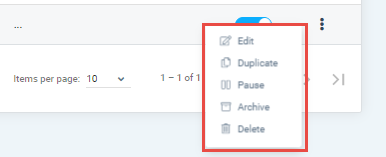
Invoice rules can be edited or deleted using menu options as mentioned below