Being able to quickly respond to a guest could be the difference between a positive and negative guest experience. Thankfully, the Conversations module will be with you wherever you go.
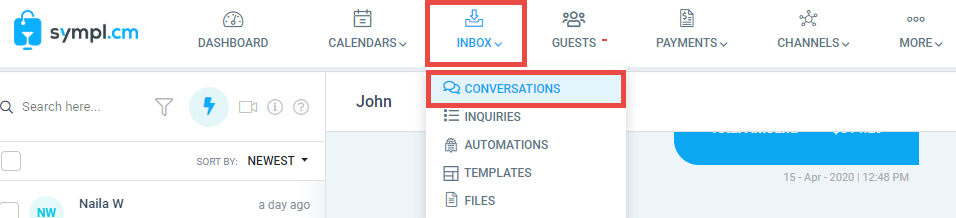
Viewing your incoming messages can be done by simply opening your Conversations Module as shown below.
Clicking any of the incoming messages from the left column will bring you to the Conversations Detail View where you can send a reply by clicking the Send button on the lower right and selecting Send Message.
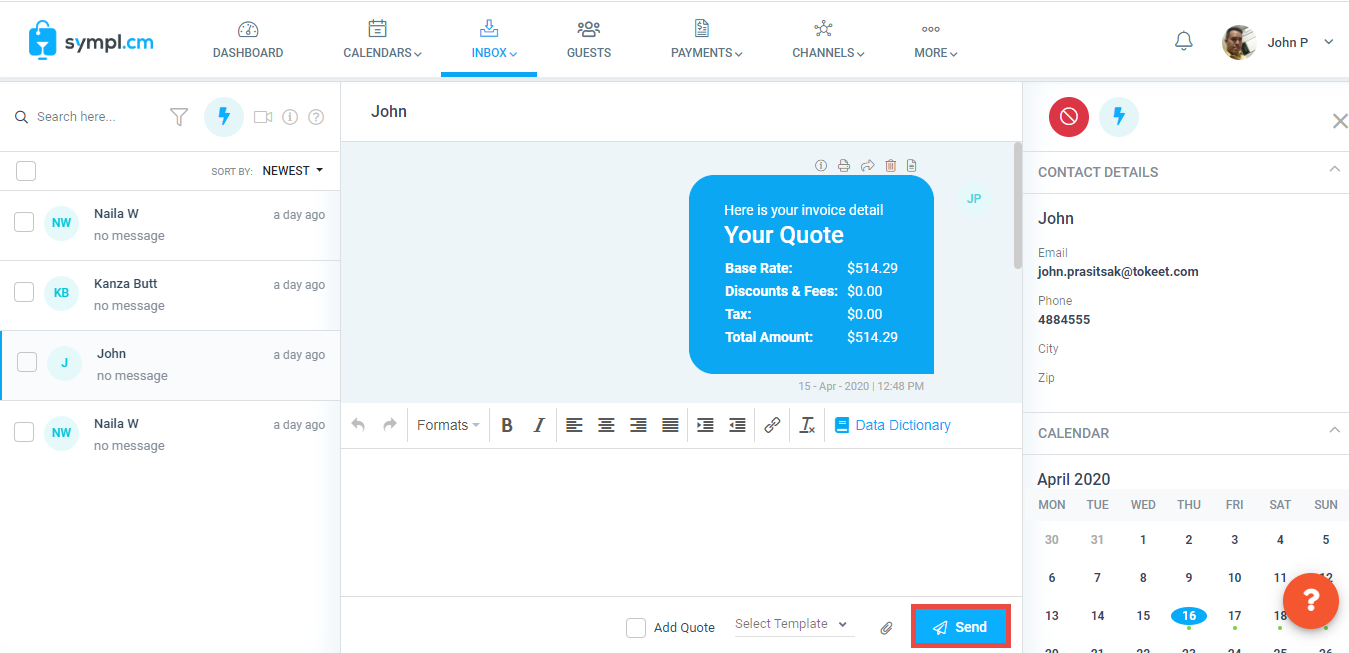
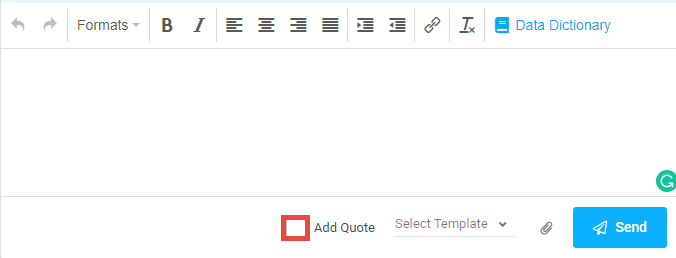
From the message composer type your message or select a message template and hit Send.
Here are some other additional features of the Conversation Detail View:
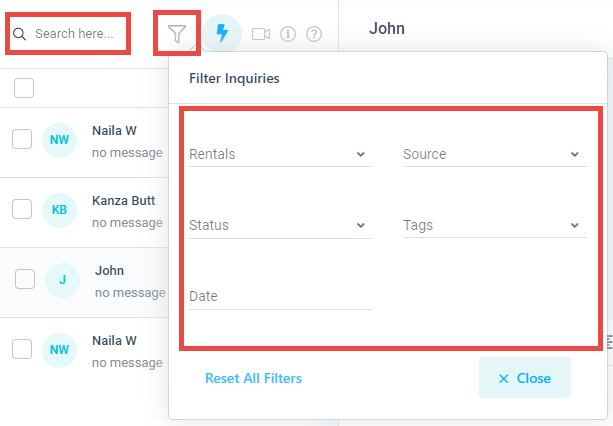
Search: Finding a specific conversation record is easy. Simply search for the inquiry by guest name or any other piece of information using the search box at the top of the ListView or you can also use Filter Inquiries to narrow down your search.
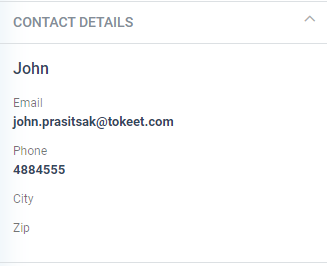
Contact Details: You can view your Guest's basic details on the extreme right column when moving into a Conversation detail.
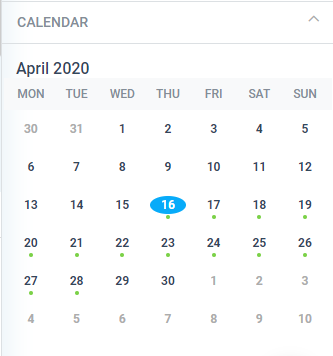
Calendar: This section will show the bookings in the form of Rental's color (dot) that is made for the Guest against an inquiry.
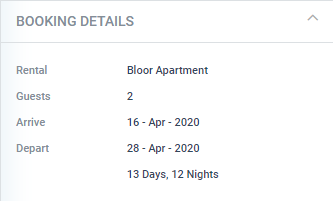
Booking Details: You can also view the booking details under Calendar against the Guest.
Booking Charges: You can view or edit the booking charges, when moving into a Conversation detail.
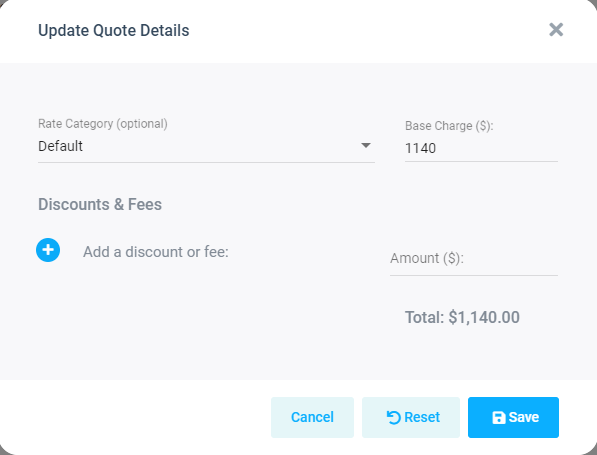
To edit the charges of the booking click on the edit icon to open the Update Quote Details overlay.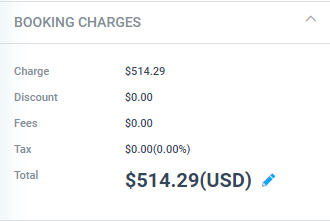
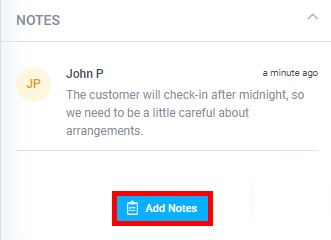
Notes: This section will show the notes that are set for the Guest against an inquiry.
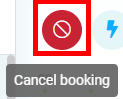
Confirm/Cancel Booking: You can also confirm or Cancel the booking from the specified button available in Detail View overlay.

Detail View: Listed Actions: There are some additional list of actions that can be performed by hitting the Actions icon to open the Actions Menu.
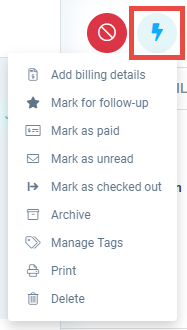
The Actions drop-down menu offers some useful tools for managing your inquiries and bookings. They include:
Add billing details: By adding the Credit Card information of a Guest will make it easy for him to pay for the purchase.
Mark for followup: Applied a followup tag to the selected records so that you can follow up for bookings against these inquiries.
Mark as Paid: You may not want or need to create invoices in Sympl. For these scenarios, you can manually mark the booking as paid.
Mark as unread: Mark the item as unread, so that you can filter for the unread items with the Status filter.
Mark as checked in/out: Mark the status of an Inquiry/Guest as checked in when a guest arrives and updates the status to checked out once the guest has departed.
Archive: Once a booking has passed, you may want to remove it from your inquiry list. Archiving inquiries will allow you to do this and unarchive the item should you need to research your historical information.
Manage Tags: Allows you to create your filter value. An example would be marking all inquiries associated with an event in your area so that you can quickly pull up a list of only those inquiries.
Print: This will display the Booking details for a Guest along with a Print button to be printed.
Delete: Will delete the selected inquiries from your Sympl account. Please be mindful that this will not cancel bookings originated on outside channels.
How to initiate a new message from an Inquiry
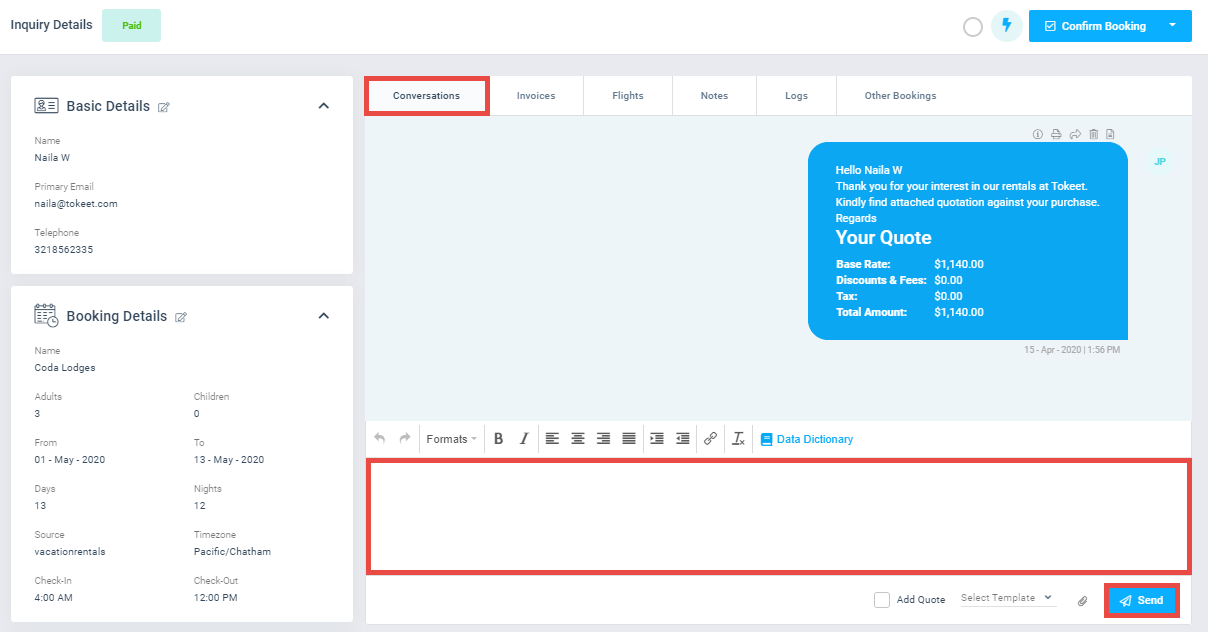
If you need to start a Conversation for an inquiry that does not appear in the message feed you can do so by opening the relevant inquiry and sending it from the inquiry Conversation tab.
First open the Inquiry Module.
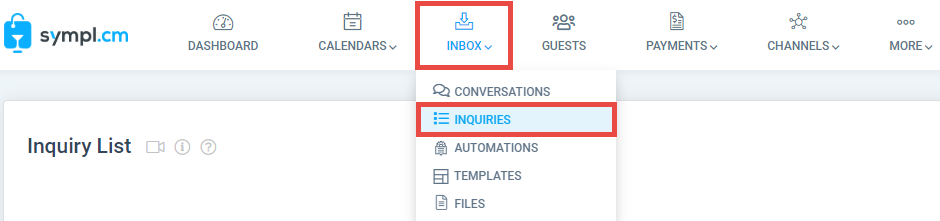
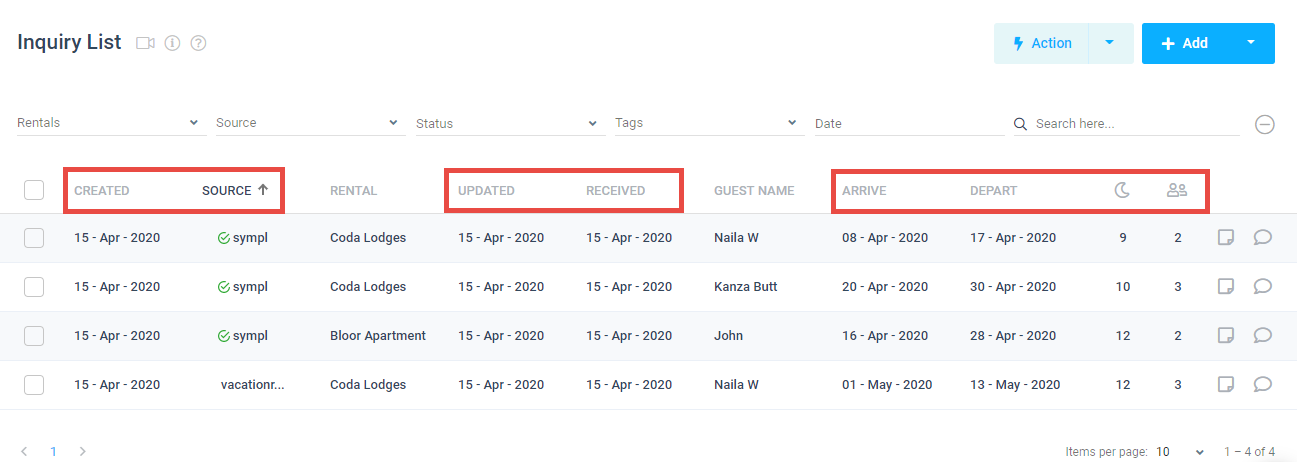
Search for the guest name or use the filter options to narrow down your search.

Open the inquiry details page by clicking on any of the highlighted columns against your desired record.
This will bring you to the Conversations tab of the inquiry details. On the Conversation compose area, add your message and select the Send button.